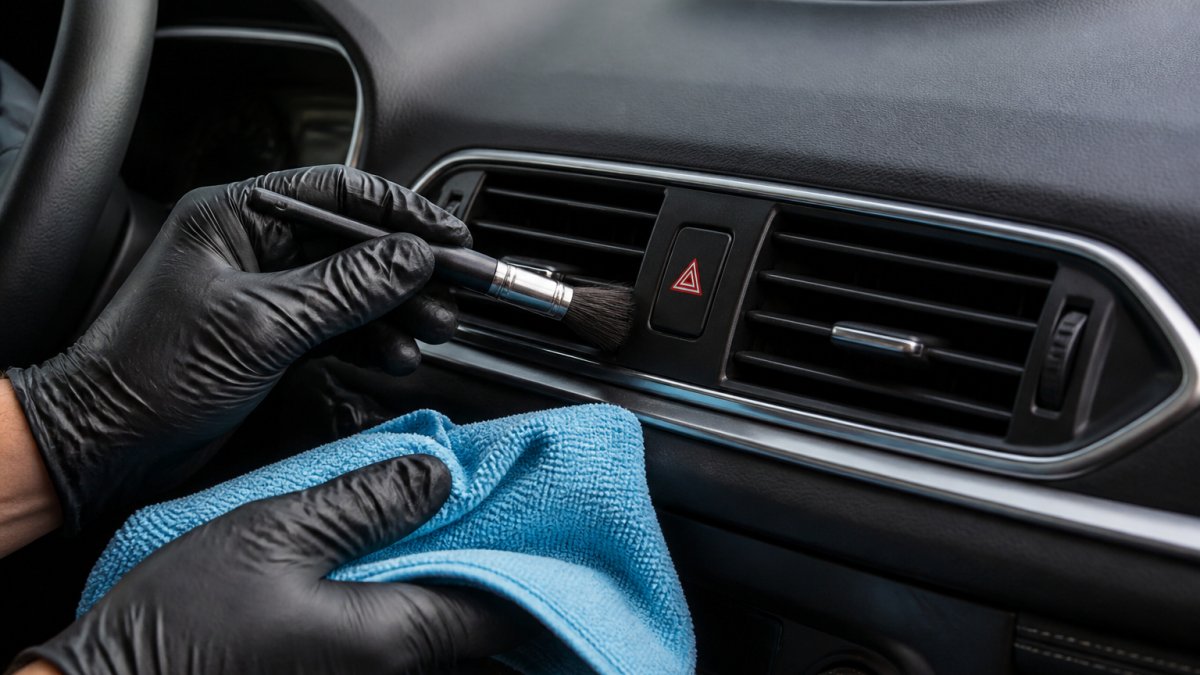
How to Clean Car Air Vents Effectively: 7 Steps
Table of Contents
- What You’ll Need Before You Start
- Step-by-Step: How to Clean Car Air Vents Effectively
- Choosing the Right Car Vent Cleaning Brush
- Cleaning Car Vents With Foam Cleaner
- How to Clean Car Air Ducts and the HVAC System
- Remove Musty Smell From Car Vents for Good
- Common Mistakes and Safety Precautions
- How Often to Clean Car Air Vents and Prevent Future Buildup
- Frequently Asked Questions
Last Updated: October 14, 2026
What You’ll Need Before You Start
Learning how to clean car air vents effectively starts with the right supplies, most already in your home, the rest cheap at any auto parts store:
- A soft detailing brush or a clean paintbrush with soft bristles
- A microfiber cloth or two
- A vacuum with a crevice tool attachment
Skip compressed air cans for vent cleaning. They push dust deeper into the ducts instead of pulling it out. A vacuum pulls debris toward you, which is what you actually want.
Step-by-Step: How to Clean Car Air Vents Effectively
The full process takes 20 to 30 minutes per vehicle. Work from the outside in: vents, surrounding surfaces, then ducts:
- Turn off the engine and let the cabin cool down
- Set your HVAC system to fresh air mode
- Vacuum loose dust from each vent opening
- Brush and wipe the slats
- Clean the dashboard around each vent
- Treat the ducts if odors or heavy buildup remain
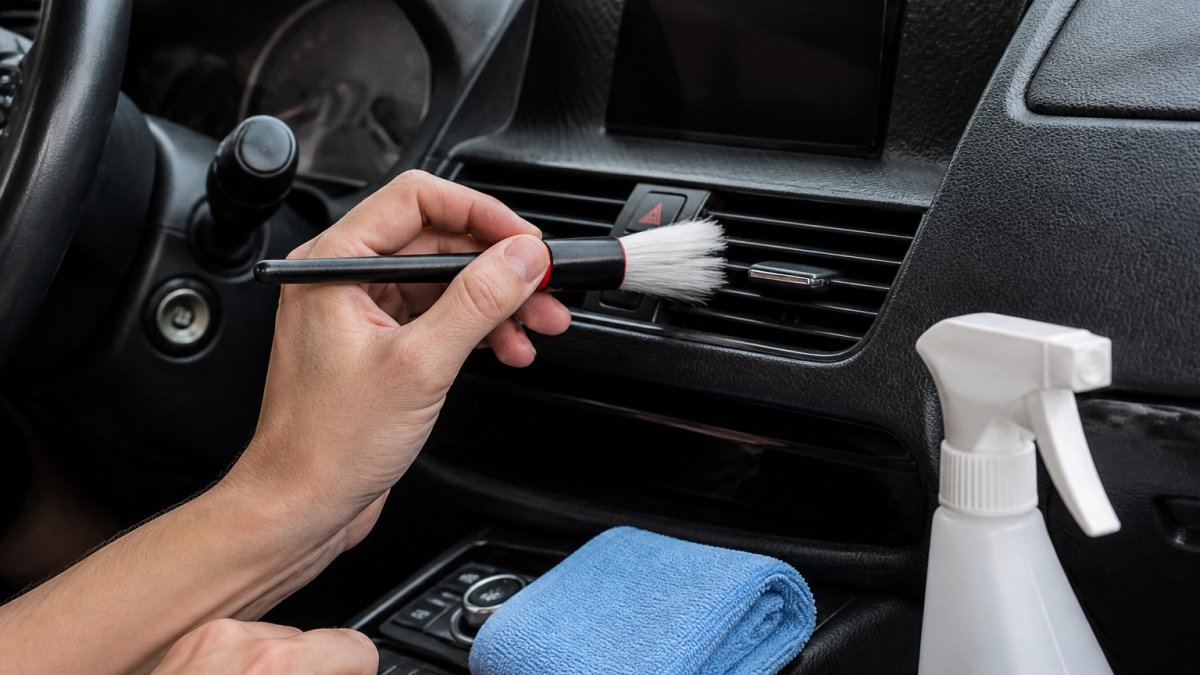
Step 1: Clear Loose Dust and Debris from the Vent Openings
Vacuum first, always. Loose dust is the easiest layer to remove and the messiest to spread.
Fit your vacuum with a crevice tool and run it gently across each vent opening, side to side rather than straight in. Skip this and later steps smear dust into the plastic.
Step 2: Clean Narrow Vent Slats and Crevices
A detailing brush does the real work here, reaching between slats where cloths cannot go. Brush in short strokes from one end of the vent to the other, wiping the brush on your microfiber cloth every few strokes so you are not redepositing dust. For corners the brush misses, wrap a microfiber cloth around a cotton swab dampened slightly with warm water.
Step 3: Wipe Down the Dashboard and Surrounding Surfaces
Dust settles around vents, not just inside them. Clean the dashboard last so falling debris lands on a surface you are about to wipe anyway.
Mix a few drops of mild dish soap into warm water, dampen a microfiber cloth, wring it out well, and wipe around each vent. Dry immediately with a second cloth, standing moisture leaves streaks.
Choosing the Right Car Vent Cleaning Brush
A car vent cleaning brush is the single most useful tool for this job.
What most guides miss is bristle stiffness. Stiff brushes scratch soft-touch dashboards and mark vent plastic; soft bristles clean just as well when used properly.
Look for these features:
- Soft nylon or boar bristles
- A head narrow enough for vent slats
- A handle long enough to reach the windshield vents
A clean paintbrush from a hardware store works as a backup, wash it first to remove loose bristles.
Cleaning Car Vents With Foam Cleaner
Cleaning car vents with foam cleaner works well for sticky grime brushing alone will not lift. Foam clings to surfaces and lifts residue as it breaks down.
Here is how to apply it without making a mess:
- Spray foam onto your brush, not directly into the vent
- Work the foam into the slats with light strokes
- Let it sit for the time listed on the product label
Always read the label first. Some foams are not safe for certain plastics or for vehicles with sensitive electronics near the vents.
Never spray liquid cleaner directly into a vent opening. Excess moisture can reach electrical components behind the dashboard and cause damage that costs far more to fix than the cleaning saves.
How to Clean Car Air Ducts and the HVAC System
Knowing how to clean car air ducts matters when odors or weak airflow point to buildup deeper in the system. Surface cleaning will not fix a dirty duct, and spraying cleaner into a vent opening will not reach the evaporator core where mildew grows.
Before you treat anything, diagnose the symptom. The table below separates what surface cleaning can fix from what needs a filter change or a shop visit.
| Symptom | Most likely cause | Right fix |
|---|---|---|
| Dust on slats, no smell | Surface dust | Vent face cleaning |
| Musty smell at startup, fades after a minute | Moisture on evaporator core | Duct treatment plus drying habit |
| Musty smell that never fades | Saturated cabin air filter | Filter replacement |
| Weak airflow at all speeds | Clogged filter or blower fault | Filter first, then inspection |
| Weak airflow on one vent only | Disconnected or blocked duct | Shop inspection |
| Visible mold or dark speckling | Microbial growth in ducts | Professional HVAC service |
Step 1: Replace the Cabin Air Filter First
The cabin air filter traps dust and pollen before air reaches the cabin. It sits behind the glovebox on most vehicles, though some place it under the hood near the windshield base or under the passenger-side dash.
A clogged filter restricts airflow and holds moisture, which feeds odor. If the pleats look gray, matted, or speckled with dark spots, replace it first, skipping this is the most common reason a duct cleaning fails.
Step 2: Treat the Ducts Through the Fresh Air Intake
With a new filter in place, run the fan on high with the windows down and the system on fresh air.
Keep the spray brief. A few short bursts are enough. Oversaturating the intake can push liquid into the blower motor resistor or the cabin filter housing, and those repairs cost far more than the cleaning saves.
Book professional car care today →
Do not spray cleaner into the cabin vents themselves. Liquid that enters a vent opening can drip onto wiring, the blower motor, or the radio head unit behind the dash. Clean vent faces with a damp cloth only.
Step 3: Dry the System to Prevent Recurrence
Moisture feeds mildew, and the evaporator core stays wet after you shut the car off. Run the fan on fresh air, AC off, for the last minute or two of every drive to push dry outside air across the evaporator and shorten the window for mold growth.
When to Stop and Call a Shop
Some problems are not a DIY fix. Book a professional inspection if you see any of these:
- Airflow stays weak after a new filter and a duct treatment
- You can see visible mold or dark growth inside a vent or on the evaporator housing
- The smell returns within a week of cleaning
A shop has the borescope, evaporator foam cleaner, and drain-line access to fix what surface products cannot reach. A deep duct flush without that equipment risks soaking electronics and worsening the problem.
Remove Musty Smell From Car Vents for Good
To remove musty smell from car vents, find the source. Odor is a symptom, not the problem. Most guides stop at “wipe the slats with vinegar” and leave you stuck when the smell returns a week later.
Match the Cleaner to the Surface
Not every cleaner is safe on every vent material. The wrong one can cloud plastic, lift paint, or leave residue that traps more dust.
| Vent material | Safe to use | Avoid |
|---|---|---|
| Matte or textured plastic | Mild dish soap and warm water; diluted white vinegar | Solvent-based cleaners, alcohol, abrasive pads |
| Painted or piano-black trim | Water-damp microfiber only; pH-neutral interior cleaner | Vinegar on bare paint, ammonia, citrus solvents |
| Chrome or metallic accents | Water-damp microfiber; chrome-safe polish | Acidic cleaners, abrasive compounds |
| Soft-touch or rubberized coating | Dry microfiber; dedicated interior cleaner | Alcohol, vinegar, stiff brushes |
| Screens or touch controls near vents | Dry microfiber only | Any liquid spray |
When in doubt, test a hidden spot first, wait a minute and check for dulling or color change before committing to the whole vent.
Work Through the Sources in Order
Odor sources stack. Fixing one without the others leaves the smell in place.
- Cabin air filter, replace it if it is gray, matted, or damp. This is the most common single cause of a persistent musty smell.
- Vent faces and slats, wipe with a cloth dampened with equal parts white vinegar and warm water. Spray the cloth, never the vent. A few drops of lemon juice in the mix cuts the vinegar smell.
- Evaporator core and ducts, treat through the fresh air intake as described above, then dry the system with fresh-air fan runs.
- Fresh air intake cowl, pull leaves, pine needles, and debris out of the slotted grille near the windshield. Wet organic matter sitting there is a mold factory.
- Cabin carpets and floor mats, a damp floor mat from a spilled drink or a leaky sunroof can smell like the vents when air blows across it. Pull the mats and check the carpet underneath.
When the Smell Keeps Coming Back
If odor returns within a week or two of a full cleaning, the source is almost always one of these:
- A wet evaporator core that never dries. Fix the habit, not the vent. Run fresh air for the last minute of every drive.
- A clogged AC drain line. Condensate backs up, sits, and grows mildew. If you see water in the passenger footwell, this is the likely cause and a shop should clear the line.
- A saturated cabin filter that was not replaced. Cleaning around a wet filter does nothing.
If you have replaced the filter, cleaned the vent faces, treated the ducts, and dried the system, and the smell still returns within two weeks, stop cleaning and start diagnosing. Repeating the same surface treatment will not fix a moisture or drain problem.
Products That Actually Work for Odor
For mild odors, diluted white vinegar on a cloth is enough. For stronger odors, use an automotive vent or AC cleaner formulated for evaporator and duct treatment, these foam, cling, and drain rather than soak electronics. Never mix cleaning products, and never use an ozone generator or fogger in a closed cabin without following the product’s ventilation and re-entry instructions exactly.
Common Mistakes and Safety Precautions
Most vent cleaning damage comes from three mistakes:
- Soaking vents with liquid. Use a damp cloth, never a wet one
- Using stiff brushes or abrasive pads on plastic
- Running the AC while applying any cleaner
A few safety points matter too. Work in a ventilated area, especially with foam or aerosol products. Wear gloves if you have sensitive skin. Never mix cleaning products.
If your vehicle has a screen or touch controls near the vents, cover them before you spray anything.
How Often to Clean Car Air Vents and Prevent Future Buildup
Clean your vents every three to four months as routine upkeep. Add a cleaning if you notice dust buildup, weak airflow, or any musty smell.
Prevention is mostly about habits:
- Keep the cabin air filter on schedule
- Run the fan on fresh air for a minute before you shut the car off
- Wipe the dashboard weekly with a dry microfiber cloth
Drivers in dusty areas or near the coast may need to clean more often.
If vent cleaning feels like one more task you never get to, that is where we come in. Clean Image 101 brings professional mobile car wash and auto detailing to your home or office, with interior detailing that covers dashboards and every surface in between.
Book professional car care today and let our team handle the details, starting with the air you breathe every time you drive.
Frequently Asked Questions
What’s the best way to clean car air vents?
Start by removing loose dust with a soft detailing brush or vacuum crevice tool. Then use a car vent cleaning brush to work into the narrow slats, wipe the dashboard with a microfiber cloth, and apply a foam cleaner to the vents if grime is stubborn. For deeper buildup, let it sit, then finish by wiping everything clean and replacing the cabin air filter if needed.
Can I spray Lysol in my car AC vents?
You can spray a small amount of disinfectant spray into the vents while the AC is running on low, but avoid soaking the vents. Too much liquid can damage electrical components behind the dashboard. A dedicated AC vent cleaner or foam cleaner is safer because it is designed for automotive use. Always follow the product label and keep the windows open while spraying to avoid inhaling fumes.
Should I replace the cabin air filter when cleaning car vents?
Yes, if the filter is dirty or you notice reduced airflow or musty odors. The cabin air filter traps dust, pollen, and debris before air reaches the vents. A clogged filter can push odors back into the cabin even after you clean the vents. Check your owner’s manual for the exact interval.
How do I remove musty smell from car vents for good?
Musty odors usually come from mold or mildew growing on the evaporator coil or in the ducts. Clean the vents with a foam cleaner, replace the cabin air filter, and run the AC on high with the windows down to dry out the system. If the smell persists, a professional duct cleaning may be needed to reach the evaporator.
Comments are closed.