Table of Contents
- What to Know Before You Book Mobile Detailing in Orange County
- How to Vet a Mobile Car Detailing Provider: A Reliability Checklist
- Questions to Ask a Car Detailer Before You Book
- How to Evaluate Mobile Car Detailing Reviews
- Mobile Detailing Prices: How to Compare Quotes and Packages
- How Long Does Car Detailing Take? Appointment Duration and Scheduling
- How to Book Reliable Mobile Detailing in Orange County
- Conclusion
- Frequently Asked Questions
Last Updated: October 15, 2026
What to Know Before You Book Mobile Detailing in Orange County
Finding reliable mobile detailing in Orange County comes down to three things: verified insurance, a clear service agreement, and reviews you actually read.
This guide from Clean Image 101 breaks down how to vet a provider before they touch your car.
Most drivers book on price alone, but a cheap quote means nothing if the technician shows up without insurance or rushes the job.
How to Vet a Mobile Car Detailing Provider: A Reliability Checklist
A reliable mobile detailing provider carries liability insurance, gives you a written scope of work, and answers questions about their process without dodging. Here is how to check each item for real.
Use this checklist before you hand over your keys:
- Ask for a certificate of insurance and confirm it is current
- Get the full scope in writing: what is included, what costs extra
- Confirm they bring their own water and power
- Ask how they handle existing scratches, chips, or swirl marks
- Check that they have a satisfaction policy if something goes wrong
- Verify their service area covers your address
- Read at least ten reviews, not just the star rating
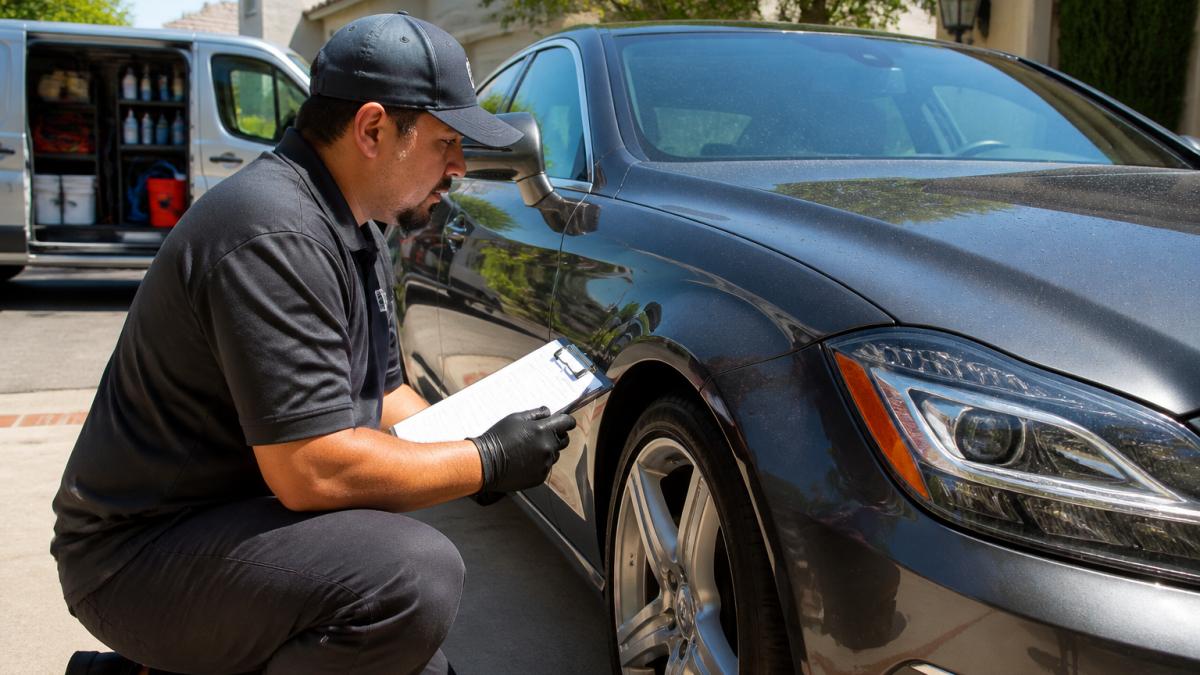
Do not treat insurance as a formality. If a provider scratches your paint and carries no coverage, you pay for the repair, so ask for proof in writing before the appointment.
Never book a provider who cannot produce proof of insurance on request. If they dodge the question or say “we’ve never had a problem,” walk away. You have no recourse if damage happens.
Insurance, Damage Responsibility, and Satisfaction Policies
Insurance and damage policies are the clearest signal of whether a provider is professional or just cheap. Ask three questions: Are you insured? Who pays if my paint is damaged? What happens if I am not satisfied?
Get the answers in writing, even by text. A provider who stands behind their work will not hesitate; one who gets defensive is telling you something.
How to actually verify insurance. Ask for a certificate of insurance (COI) and read it. A valid COI shows the provider’s legal business name, policy dates, coverage type (general liability for property damage), and the insurer’s name.
Damage responsibility. Ask directly: if your polisher burns through my clear coat, what happens? A professional will have a process, usually filing a liability claim or covering the repair out of pocket.
Satisfaction policy. Ask what happens if you find swirl marks or missed spots after they leave. The best providers offer a re-do window, often 24 to 48 hours. Get the window in writing; without a stated policy you have no recourse.
Orange County Logistics: Service Areas, Water Access, and Driveway Setup
Mobile detailing in Orange County depends on logistics: water access, parking space, and travel distance all affect whether a provider can serve your address.
Ask these questions before booking:
- Do you bring their own water tank and power source?
- How much driveway or street space do you need?
- Do you charge a travel fee for my area?
- What happens if my building has no outdoor water access?
Providers serving Santa Ana, Tustin, and Irvine often work in tighter residential areas, while those serving Laguna Beach, Laguna Niguel, and San Clemente deal with longer drives and coastal dust.
Water and power realities. Many HOAs and apartment complexes restrict outdoor water use, and some cities limit driveway car washing. A fully self-contained mobile detailer carries a water tank (often 50 to 100 gallons) and a generator or battery system, so they do not need your spigot or an outlet.
Parking and access. A mobile detailer typically needs one full parking space plus room to open doors and run a hose or cord. In dense areas like Irvine or Santa Ana, street parking may be the only option, and some HOAs prohibit commercial vehicles in driveways. Tell the provider your setup in advance.
Travel fees and service boundaries. Most providers publish a base service area and charge a travel fee beyond it. Ask for the boundary and fee in writing. A provider who says “we go anywhere” without a fee structure will surprise you later, so confirm your address is covered before you book.
Questions to Ask a Car Detailer Before You Book
The right questions to ask a car detailer reveal whether they know their craft or just follow a script. Focus on process, products, and vehicle-specific experience.
Ask these before you commit:
- What is included in your full detail? Get the exact list.
- Do you use a two-bucket wash method? This reduces swirl marks.
- How do you handle bug splatter and clay buildup? Look for clay bar treatments.
- Do you adjust your process for SUVs, trucks, and minivans? Vehicle type changes the time and technique.
- How long will the appointment take? A rushed job shows in the finish.
- What is your policy if I find a problem afterward?
If a provider cannot answer these clearly, that is your answer.
Ask what products they use on paint. A provider who names specific brands and explains why they chose them knows their work. One who says “the good stuff” does not.
How to Evaluate Mobile Car Detailing Reviews
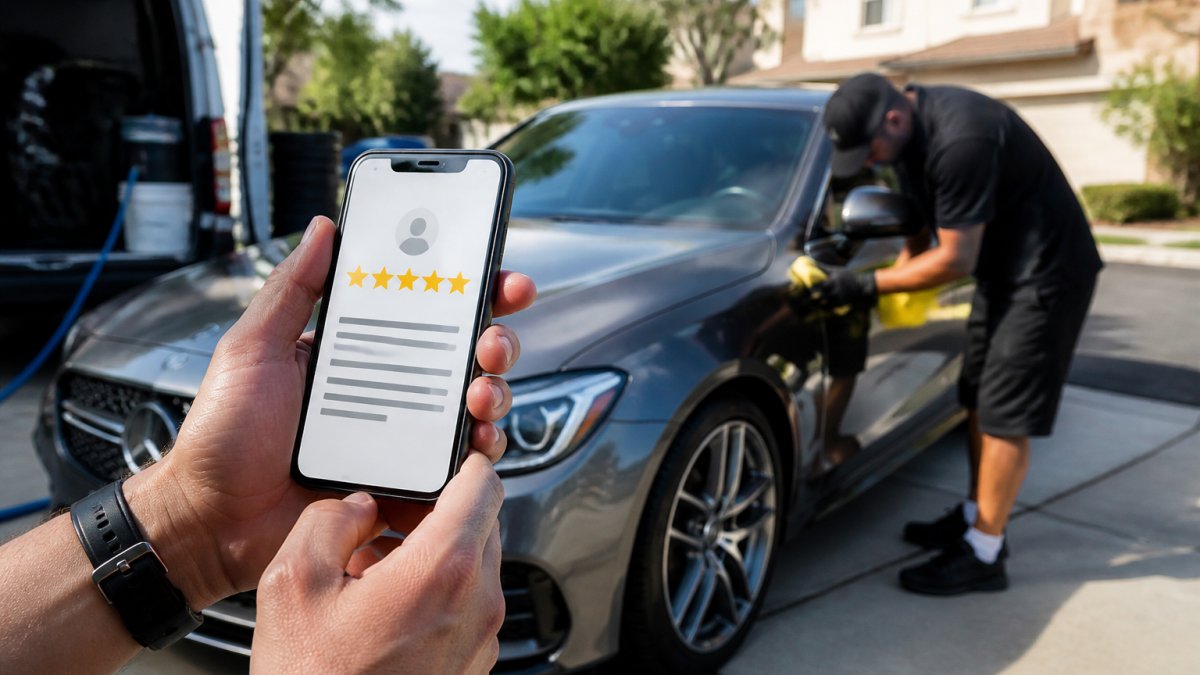
Mobile car detailing reviews tell you more than a star rating ever will.
Score each review on four dimensions. For every review you read, ask:
Book professional car care today →
- Recency. When was it posted? A review from three years ago tells you nothing about the current crew. Look for reviews from the last six months. If a provider has fifty reviews but none from the past year, that is a signal.
- Specificity. Does the review name a service, a vehicle, a technician, or a result? “They removed the dog hair from my third row” beats “great job.” Specific reviews are harder to fake and more useful to you.
- Consistency. Do the reviews tell the same story? If ten reviews praise punctuality and two complain about no-shows, the pattern matters more than the average. Look for repeated themes, positive or negative.
- Owner response. How does the provider reply to criticism? A response that acknowledges the issue and offers a fix is a good sign. A defensive or dismissive reply is a warning. Silence on a detailed complaint is also telling.
Watch for review manipulation. A burst of five-star reviews in a single week, especially from accounts with no other activity, looks bought. A business that opened last month with two hundred reviews is suspicious.
Read the negative reviews first. One bad review happens; five mentioning late arrivals, missed spots, or surprise charges does not. A pattern of “they scratched my paint” is disqualifying; a single “they were twenty minutes late” is not.
Check the dates on the reviews, not just the star rating. A 4.9 average built over five years is stronger than a 5.0 built in three months.
Go beyond the provider’s own page. Search the provider’s name on local directories and community groups. Word of mouth from neighbors carries weight a polished website cannot match.
Ask for references. A confident provider will connect you with past customers, especially for higher-priced services like paint correction or ceramic coating. If they hesitate, that is information.
Use a simple scoring sheet. Rate each provider one-to-five on recency, specificity, consistency, and owner response, then average the four.
Mobile Detailing Prices: How to Compare Quotes and Packages
Mobile detailing prices vary widely based on vehicle size, condition, and service level. The only fair comparison is quote versus quote for the exact same scope.
When you request quotes, ask each provider to break down:
- Base price for your vehicle type
- What each package includes
- Add-on costs like clay bar, paint restoration, or pet hair removal
- Any travel or mobile service fee
| Package Level | What It Typically Covers | Best For |
|---|---|---|
| Express wash | Exterior rinse, dry, basic interior wipe | Well-kept cars needing a refresh |
| Standard detail | Full interior and exterior, wheels, windows | Regular maintenance |
| Complete detail | Everything above plus clay bar, wax, deep interior | Vehicles with buildup or pre-sale prep |
| Paint restoration | Correction, polishing, sealant or ceramic coating | Swirl marks, oxidation, luxury care |
Cheaper is not better here. A low quote often means fewer steps, weaker products, or a rushed technician. Ask what is cut to hit that price.
Compare quotes line by line, not by the bottom number. Two providers quoting different prices for “a full detail” may be offering completely different services.
How Long Does Car Detailing Take? Appointment Duration and Scheduling
How long does car detailing take? A standard detail runs two to four hours. A full detail with paint correction can take six hours or more.
Duration depends on three things:
- Vehicle size. A minivan takes longer than a coupe.
- Condition. Heavy pet hair, stains, or baked-on bug splatter add time.
- Service level. A wash is quick. Paint restoration is not.
Ask for a time estimate when you book. A provider who quotes “about an hour” for a full detail is either rushing or misunderstanding the job. Book a window when your car is parked and accessible.
How to Book Reliable Mobile Detailing in Orange County
Booking reliable mobile detailing in Orange County starts with a short list. Vet three providers, compare quotes, and pick the one that answers your questions best.
Here is the booking process:
- Shortlist providers with verified insurance and clear service areas
- Request quotes for the same package from each
- Read reviews for patterns, not just scores
- Confirm the appointment window and what you need to provide
- Get the scope and price in writing before the visit
At Clean Image 101, we bring the full setup to your home or office, handling bug removal, clay bar treatments, and paint restoration for everything from sports cars to minivans. You never leave your driveway.
Conclusion
Finding a detailer you trust takes an hour of homework and saves you a repaint. Providers who answer questions clearly, carry insurance, and show consistent reviews are worth booking.
Clean Image 101 brings professional mobile car wash and auto detailing to your Southern California doorstep. Our skilled team handles diverse vehicle types, from sports cars to minivans, with services ranging from bug removal to paint restoration. We save you the trip and the wait.
Book professional car care today with Clean Image 101 and get a finish that holds up.
Frequently Asked Questions
How do I know if a mobile car detailer is reliable?
Ask for proof of insurance and a written satisfaction policy before booking. Check that their mobile car detailing reviews include recent, detailed feedback with photos. A reliable provider will answer questions about their process, products, and how they handle paint damage without hesitation. If they dodge these topics or pressure you to book immediately, look elsewhere.
What should I ask before booking a mobile detailing service?
Key questions include: Are you insured? What happens if my paint gets scratched? Do you bring your own water and power? How long will the appointment take? What is included in each package? Can you remove baked-on bug splatter and clay buildup? Do you adjust your process for different vehicle types like SUVs or trucks? Ask for a written quote and confirm whether travel to your location adds a fee. These answers separate professionals from operators who rush jobs.
How can I compare mobile detailing quotes fairly?
Request itemized quotes that list each service: interior detailing, exterior wash, clay bar treatment, wax or ceramic coating, and any add-ons. Compare what is included at each price point rather than just the total. A lower quote may skip paint decontamination or use cheaper products. Ask whether the price changes based on vehicle size or condition. Mobile detailing prices in Orange County vary by package depth, so compare apples to apples before deciding.
How long does a mobile car detailing appointment take?
A basic exterior wash and interior vacuum typically takes 1 to 2 hours. A full detail with clay bar treatment, paint correction, and interior shampooing can run 4 to 6 hours or more depending on vehicle size and condition. SUVs and minivans take longer than sedans. Ask the provider for a time estimate when you book so you can plan your day. Reliable detailers will not rush a full detail into an unrealistic window.