How to Clean Leather Car Seats Without Damage
Table of Contents
- What You’ll Need Before You Start
- Step 1: Vacuum and Prep Your Leather Car Seats
- Step 2: Spot Test in an Inconspicuous Area
- Step 3: Choose the Best Leather Cleaner for Car Seats
- Step 4: How to Condition Leather Car Seats After Cleaning
- Common Mistakes When Cleaning Leather That Cause Damage
- How to Maintain Clean Leather Car Seats Long-Term
- Frequently Asked Questions
Last Updated: September 16, 2026
What You’ll Need Before You Start
Learning how to clean leather car seats without damaging them starts with preparation, not product. Gather the right tools first, and you avoid the rushed scrubbing that causes most damage. This guide walks through the full process, from vacuuming to conditioning, so your seats stay supple instead of cracked.
Tools and Materials Checklist
- Vacuum with a soft brush attachment and a crevice tool
- Two microfiber cloths (one for cleaning, one for drying)
- Soft-bristled brush for seams and stitching
- pH-balanced leather cleaner
- Leather conditioner
- Distilled water for diluting and rinsing
- Small spray bottle
- Bucket of warm water
Skip abrasive pads, paper towels, and household all-purpose sprays. Each one scratches or dries the surface.
Test your vacuum’s brush attachment on a low setting first. A stiff bristle head can leave swirl marks on finished leather that only show up in direct sunlight.
Step 1: Vacuum and Prep Your Leather Car Seats
Vacuuming removes loose grime before any liquid touches the surface. If you skip this, you grind dirt into the grain when you wipe.
Using the Right Vacuum Attachments
Use the soft brush attachment for flat surfaces and the crevice tool for the gaps between the cushion and the seat back. Keep the brush moving. Holding it in one spot on a seam can pull at the stitching.
Step 2: Spot Test in an Inconspicuous Area
A spot test tells you how your leather reacts to a cleaner before you commit to the whole seat. Apply a small amount of cleaner to a hidden area, like under the seat or on the side bolster, and wait a minute.
Never test a new cleaner on a visible cushion first. Some cleaners lift dye from older or re-dyed leather within seconds, and that discoloration is permanent.
Step 3: Choose the Best Leather Cleaner for Car Seats
The right cleaner depends on what your seats are actually made of, not on the label that says “leather.” Automotive interiors use at least four finishes, and each one reacts differently to water, solvents, and surfactants. Picking the wrong chemistry is the fastest way to strip a top-coat, lift dye, or leave a sticky residue that attracts dust.
Identify Your Leather Type First
Before you buy anything, figure out which of these you have:
- Coated (pigmented) genuine leather. The most common finish in modern vehicles. The hide is covered with a thin polymer top-coat that carries the color. It feels slightly cool and smooth, has a uniform surface, and water beads on it rather than soaking in. This is what most pH-balanced automotive cleaners are designed for.
- Semi-aniline or aniline leather. Less common in mainstream vehicles but found in some luxury trims. The top-coat is thinner or absent, so the natural grain shows through and the surface feels softer and more porous. Water darkens it quickly. These seats need a dedicated mild leather cleaner and a conditioner, never an all-purpose spray.
- Perforated leather. Any of the above with ventilation holes punched through. The holes expose the backing and foam, so liquid management matters more than chemistry. Treat it as a coated leather for cleaning but apply product to the cloth, never the seat.
- Synthetic (vinyl, faux, or “vegan” leather). A fabric or polyurethane surface with a printed grain. It feels uniformly cool, has no natural variation, and does not absorb conditioner the way real leather does. It tolerates moisture better but peels when exposed to alcohol or strong solvents.
Match the Cleaner to the Finish
| Leather type | Safe cleaner | Avoid |
|---|---|---|
| Coated genuine | pH-balanced automotive leather cleaner | Ammonia, alcohol, degreasers, all-purpose sprays |
| Semi-aniline / aniline | Dedicated mild leather cleaner, diluted if directed | Vinegar, baking soda paste, any solvent |
| Perforated (any base) | pH-balanced cleaner applied to cloth only | Spraying directly at the holes, soaking the surface |
| Synthetic / vinyl | Mild soap and water or a vinyl-safe cleaner | Alcohol, acetone, abrasive pads, oil-based conditioners |
What to Look For on the Label
Skip marketing claims and read the ingredient panel. A cleaner suited to coated automotive leather will typically list water as the first ingredient, use a mild non-ionic surfactant, and carry a pH close to neutral. If the label leads with solvents, petroleum distillates, or butyl-based degreasers, it is meant for engine bays and carpet, not finished hides.
DIY Options and Their Limits
If you cannot identify your leather type, default to the mildest option: a pH-balanced cleaner applied to a microfiber cloth, worked in small sections, and rinsed with distilled water. Gentleness is reversible; a stripped top-coat is not.
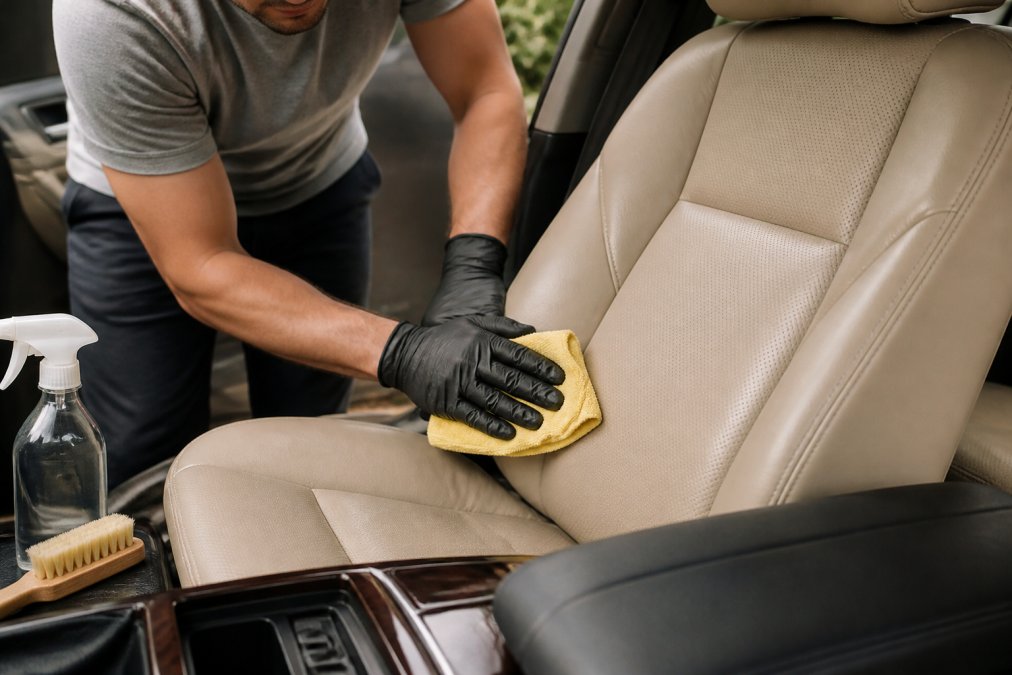
Apply cleaner to your microfiber cloth, not directly to the seat. Work in small sections, use gentle circular motion, and wipe away residue with a clean damp cloth. Buff dry so no moisture sits in the seams.
Step 4: How to Condition Leather Car Seats After Cleaning
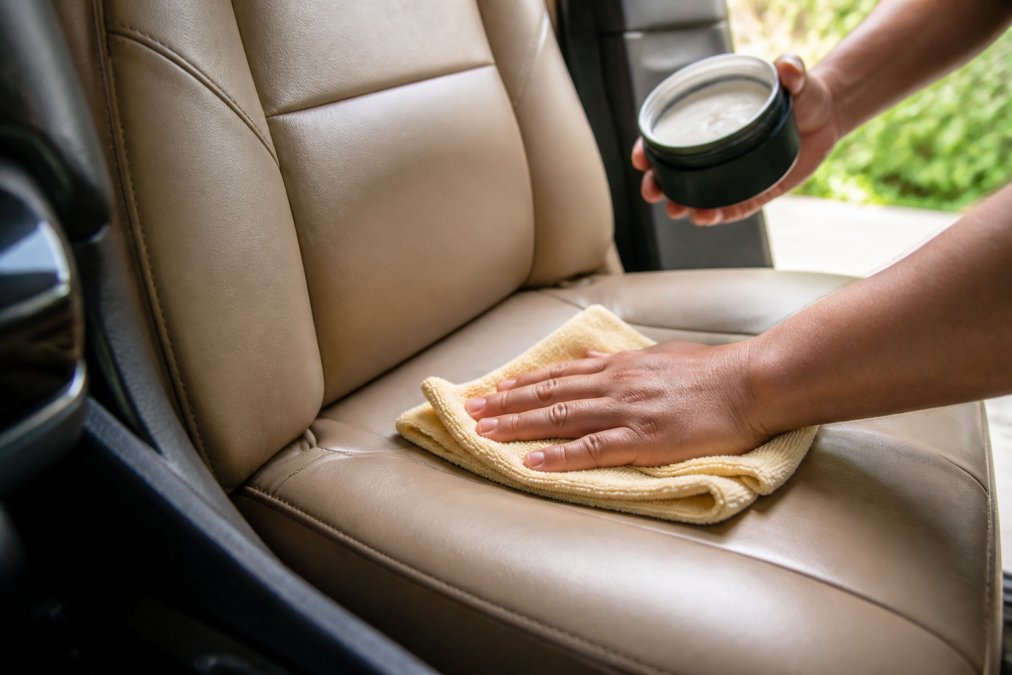
Conditioning is the step that keeps leather supple and slows cracking. Clean first, then condition. Conditioning over dirt traps grime against the surface.
Common Mistakes When Cleaning Leather That Cause Damage
Most leather damage comes from a handful of repeat errors:
Book professional car care today →
- Soaking the surface with liquid instead of damp-wiping
- Using abrasive pads, brushes, or paper towels
- Applying household all-purpose cleaner or alcohol
- Scrubbing hard on stains instead of letting the cleaner work
- Skipping the conditioner after cleaning
- Leaving moisture in the seams and stitching
Perforated and Synthetic Leather: Special Considerations
Perforated leather needs a lighter touch. Liquid pushed into the holes soaks the backing and can cause odor or separation. Use a barely damp cloth and avoid spraying cleaner directly at the perforations.
The type of leather decides your method. Perforated and synthetic seats need less liquid and milder products than smooth, coated genuine leather.
How to Maintain Clean Leather Car Seats Long-Term
Maintenance is where leather either lasts a decade or starts cracking in year three. Cleaning removes soil; protection is what keeps the top-coat from breaking down between cleanings. Most guides stop at “wipe it down and condition it,” which leaves the two biggest long-term threats unaddressed: UV radiation and plasticizer migration. These same chemical vulnerabilities extend to other high-quality hides, making the principles found in this leather care guide essential for preserving the integrity of any luxury material exposed to the elements.
Why Leather Fails Over Time
Automotive leather is a hide covered with a thin polymer top-coat and a layer of plasticizers that keep it flexible. Two things destroy that system:
- UV exposure. Ultraviolet light breaks the polymer chains in the top-coat, which is why dashboards and the top of the rear bench fade and crack first. A car parked outside in a sunny climate can show visible fading on the upper bolsters within a few years.
- Plasticizer loss. Heat cycles drive the plasticizers out of the finish, leaving it stiff. Once the top-coat loses flexibility, normal use, sliding in and out, folding the seat, creates fine cracks that trap dirt and widen over time.
A Realistic Maintenance Cadence
| Interval | Task |
|---|---|
| Weekly | Dry microfiber wipe-down to lift dust before it works into the grain |
| Monthly | Damp wipe with distilled water on high-touch areas: driver’s bolster, armrest, steering wheel-adjacent trim |
| Every 3-4 months | Full clean and condition (coated leather) |
| Every 2-3 months | Full clean and condition in hot, sunny climates or if the car sits outside |
| Twice a year | Apply a UV-blocking leather protectant after conditioning |
Adjust the deep-clean interval based on use. Rideshare drivers, pet owners, and anyone eating in the car should treat monthly as the baseline.
Post-Cleaning Protection: The Step Most Guides Skip
Conditioner restores suppleness. A protectant creates a sacrificial layer that absorbs UV and blocks some airborne contaminants before they reach the top-coat. Look for a product labeled as a leather sealant or UV protectant, not a conditioner, they are different products with different jobs.
Do not apply a protectant to perforated leather by spraying it at the surface. The product will pool in the ventilation holes and wick into the foam. Spray the cloth, then wipe.
Habits That Actually Extend Leather Life
- Park in shade or use a windshield sunshade. Interior surface temperatures in a closed car can climb well above ambient, and every heat cycle ages the finish.
- Blot spills, do not rub. Rubbing drives liquid into stitching and seams where it feeds mildew.
- Keep a microfiber cloth and a small bottle of pH-balanced cleaner in the car. Fresh spots lift in seconds; set stains require stronger chemistry and more scrubbing, both of which risk the top-coat.
- Skip the armor-all-style high-gloss dressings. They leave an oily film that attracts dust and makes the seat slick. A matte finish is the sign of a properly protected seat.
- Address cracks early. A hairline crack that gets cleaned and conditioned stays cosmetic. One that fills with grit and flexes daily becomes a tear.
When to Bring In a Professional
If your seats are aniline or semi-aniline, heavily soiled, or showing dye transfer from dark denim, the risk of making it worse with a DIY attempt is real. Professional mobile detailing handles the full cycle, vacuuming, spot testing, pH-matched cleaning, conditioning, and UV protection, with products selected for your specific leather type. Clean Image 101 brings professional, passionate mobile car wash and auto detailing services directly to your Southern California doorstep, transforming vehicles of all types, from sports cars to minivans, into masterpieces.
Frequently Asked Questions
Can I use Dawn dish soap on my leather car seats?
Dawn and similar dish soaps strip natural oils from leather, leaving it dry and prone to cracking. They are not pH-balanced for leather and can damage the top-coat over time. Use a dedicated leather cleaner or a mild saddle soap instead. If you must use a DIY option, mix a few drops of mild soap with distilled water and follow with a conditioner.
What do professional car detailers use to clean leather seats?
Detailers typically use pH-balanced leather cleaners applied with a soft-bristled brush or microfiber cloth. They vacuum first with a crevice tool, spot test in an inconspicuous area, and always follow with a leather conditioner to restore moisture. For stubborn stains, they use specialized products rather than harsh household cleaners that can damage the grain or stitching.
How often should you condition leather car seats?
Condition leather car seats every two to three months for daily-driven vehicles, or more often in dry climates. Conditioning restores oils that cleaning removes and helps prevent cracking and fading. If your seats feel dry or look dull, condition sooner. Always clean before conditioning so the product absorbs properly rather than sitting on top of grime.
What is the best way to remove stains from leather car seats?
Identify the stain type first. For oil-based stains, use a small amount of pH-balanced cleaner on a microfiber cloth and blot gently. For water-based stains, distilled water with a drop of mild soap often works. Avoid scrubbing aggressively, which can damage the grain. For tough stains, consult a professional detailer who can assess whether the leather is porous or coated.
Comments are closed.